How do I create a New Project?
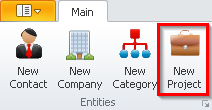
- Click the
'New Project'button on the Entities section of the Ribbon Toolbar. - Here in the
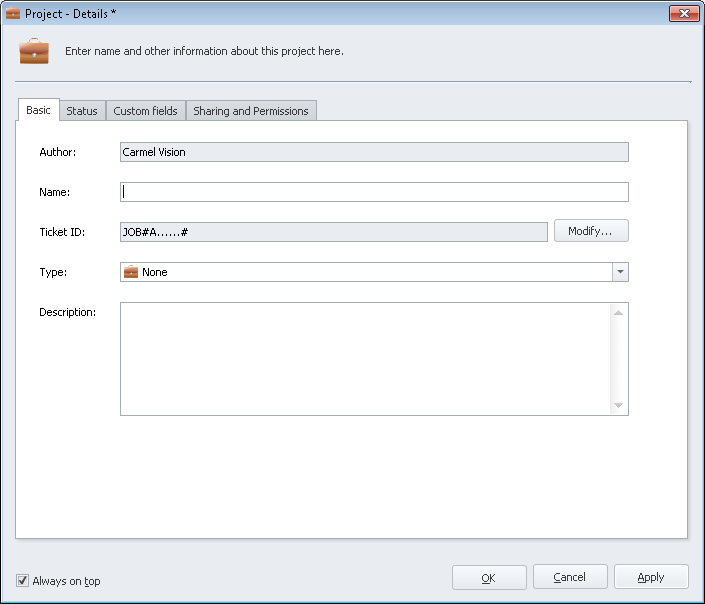
Basictab, you can fill in the details of your new Project:NameTicket ID(click)'Modify'to customize.TypeDescription
- Click the
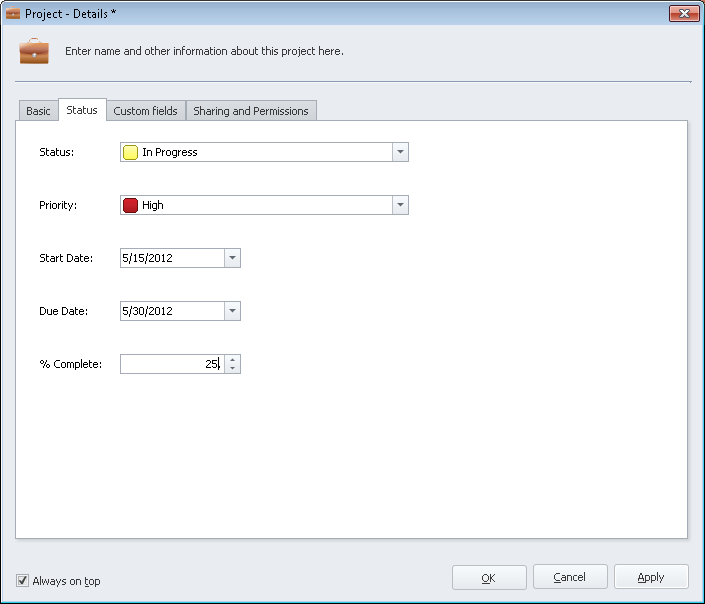
'Status'tab, you can fill in the details of your new Project:StatusPriorityStart DateDue Date% Complete
- Click the
'Custom fields'tab to fill in any custom fields you have created. To learn how to create a custom field for your Project, visit How do I add Custom Fields for a video demonstration. - Click the
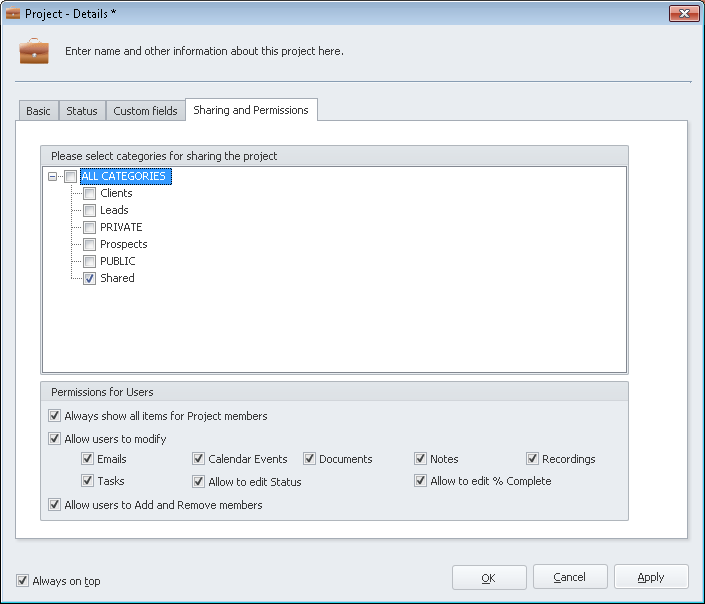
'Sharing and Permission'tab to set the permissions for your project. Here you can select the categories that the project is associated to. - In the Permissions for Users section of this tab, you can limit the access that others have on your project. Things that you can limit include:
Always show all items for Project membersAllow users to modify: Email, Calendar Events, Documebnts, Notes, Recordings, Tasks, Allow to edit Status, Allow to edit % Complete.Allow users to Add and Remove members
- Click
'OK'to save your changes and close the Project window.