Google Sync Configuration
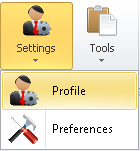
- From the main Ribbon Toolbar, click
'Settings'->'Profile'. - Select
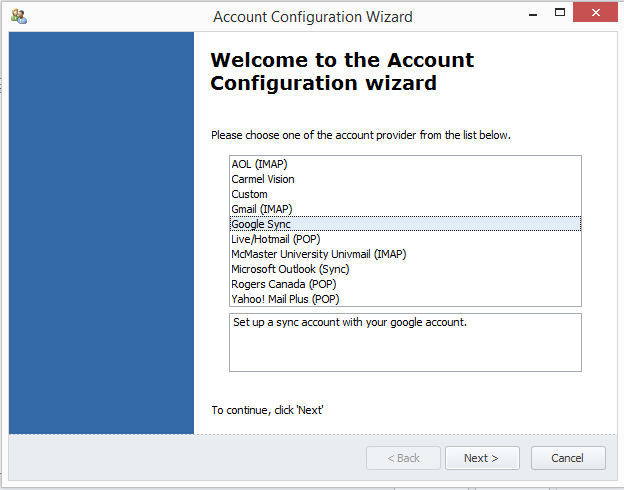
'Accounts'and click'New'. - Set up a Google Sync account in InfoFlo. To do this, select
'Google Sync'and click'Next'.
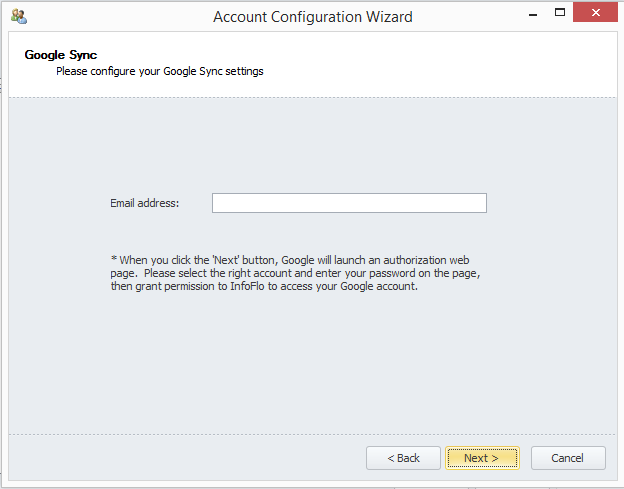
- Enter you
Gmail Email Accountand click'Next'.
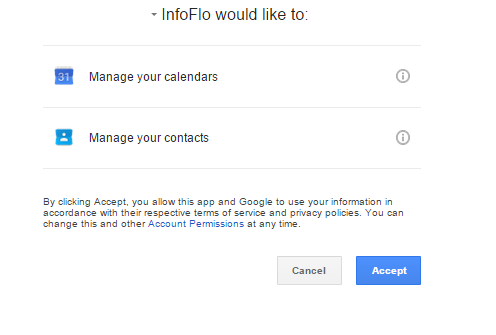
- Google will launch an authorization web page. Select the right account, enter your password and click
'accept'.
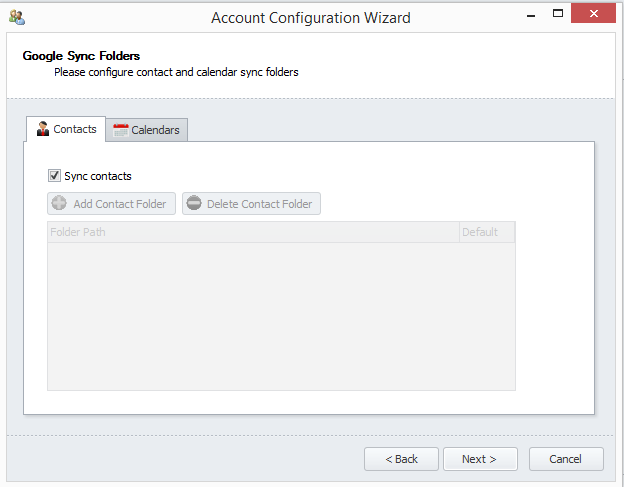
- Check Box to sync InfoFlo contacts with Google contacts.
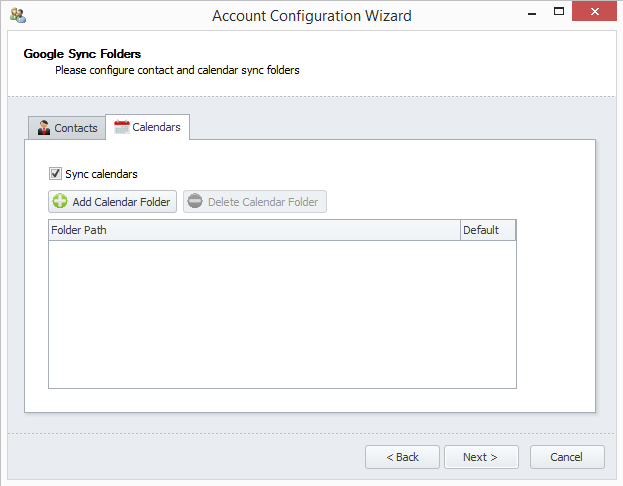
- Check Box to sync InfoFlo calendar with Google calendar.
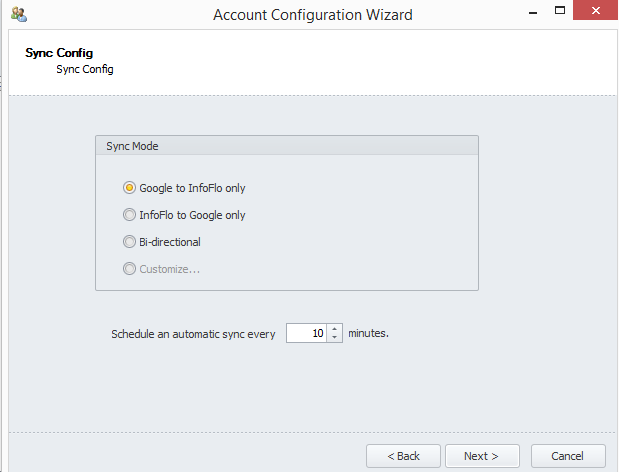
- After your folders have been configured, you will now be able to choose the direction of your Google sync.
- Google to InfoFlo only – Goolge will be only be read and all the configured items to be synced will be synchronized to InfoFlo.
- InfoFlo to Google only – All data to be synced from InfoFlo will be synced to Google. WARNING: Google data will be DELETED if it does not exist in InfoFlo
- Bi-directional – Data added to InfoFlo will be copied into Google and data added to Google will be copied to InfoFlo. Only data that can be captured will be copied but the two items will remain linked after the first sync.
- Click the radio button and click ‘Customize…’ to customize your sync direction.
- Check the
'Schedule an automatic sync every x minutes'check box to keep InfoFlo to synced to Google automatically. Enter the number of minutes you would like to wait before InfoFlo attempts another sync. - Click
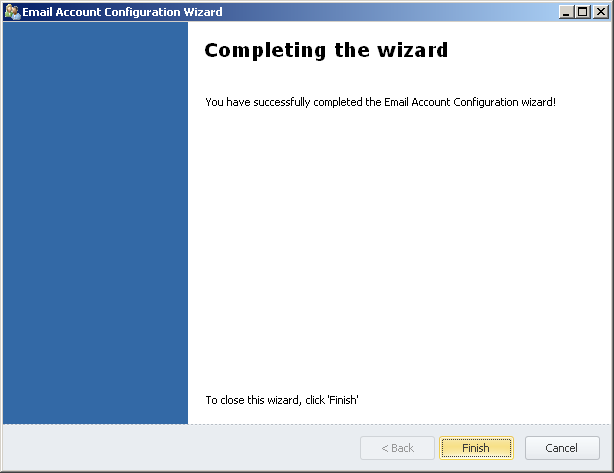
'Finish'to complete your Google Sync configuration.