Upload Panel
Search Knowledge Base by Keyword
This panel is used to upload new weekly forecasts into the system. Here are the list of steps to upload a new forecast:
- Convert the exls sheet into csv format using Excel. Please make sure to save as MS-DOS csv.
- Make sure the csv file contains 3 additional columns “Priority”, “Line Type” and “PlannerID” and that these are added in this order where the last column on the sheet is “PlannerID” and the second to last column is “Line Type”
- Verify that values for priority are in the range of 1-4 (High, Medium, Low, Default) and values for line type are in the range of 1-3 (1-Default, 2-Shrink, 3-Heat Seal). The values for planner should be numbers as per employeeId.
- Click on the Upload -> Jobs menu item
- If there are missing columns a message indicating that will be displayed. Please go through steps 1-4 again and re-upload forecast file.
- Select target customer
- Browse to the csv file saved in step 1. Please ensure the file is not in use by any other application before clicking upload.
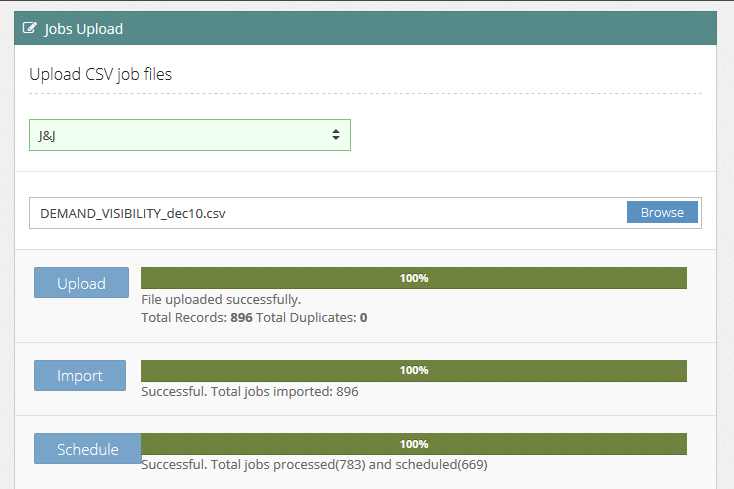
- Click on upload
- The system will proceed with import step and provide totals for jobs uploaded and duplicated. Any duplicates will simply be skipped.
- As soon as import completes, system automatically schedule new jobs and also attempt to reschedule jobs where ship date or quantity has changed.
- Scheduling will be complete when progress bar reaches 100% and a report is displayed to summarize the scheduling operation.
Share